

Remember a long time ago when I was really determined to grade up that Coffee Date Dress to a multi size pattern for all the fats in the land? Yeah, it kind of died in the arse when I realised my grading method didn’t work. I put the project away and then subsequently deleted all my pattern grading files for Illustrator in a fit of rage.
Since I’ve been on this recent sewing kick I’ve been hungrily consuming any kind of pdf “print at home” sewing pattern I can find, at first going to sewingpatterns.com and being hugely disappointed in their consistently atrocious Print Sew back end, and then going back to BurdaStyle only to find that you can’t buy patterns from the site at the moment and there’s no word when functionality will be restored. Free BurdaStyle patterns can still be downloaded, so as I browsed through the pitiful collection of plus size patterns on the site I came across the Coffee Date Dress again and thought I’d give it another go.

After reading Fit for Real People recently I decided to use the cut and spread method to make this dress bigger. The book is kind of helpful but not very detailed, so I really winged the whole process. I vaguely remember doing cut and spread pattern grading in high school Home Economics but that was nearly 15 years ago! I found a bunch of green cotton in my stash and went ahead and sewed up a muslin of the bodice just to see how far off my pattern grading was, and you know what? It wasn’t that far off! I had to cut the arm holes deeper but other than that, things were looking hopeful. The skirt pieces were a little too narrow, but that was an easy fix as I hadn’t yet cut the fabric and simply added width to the centre seam.
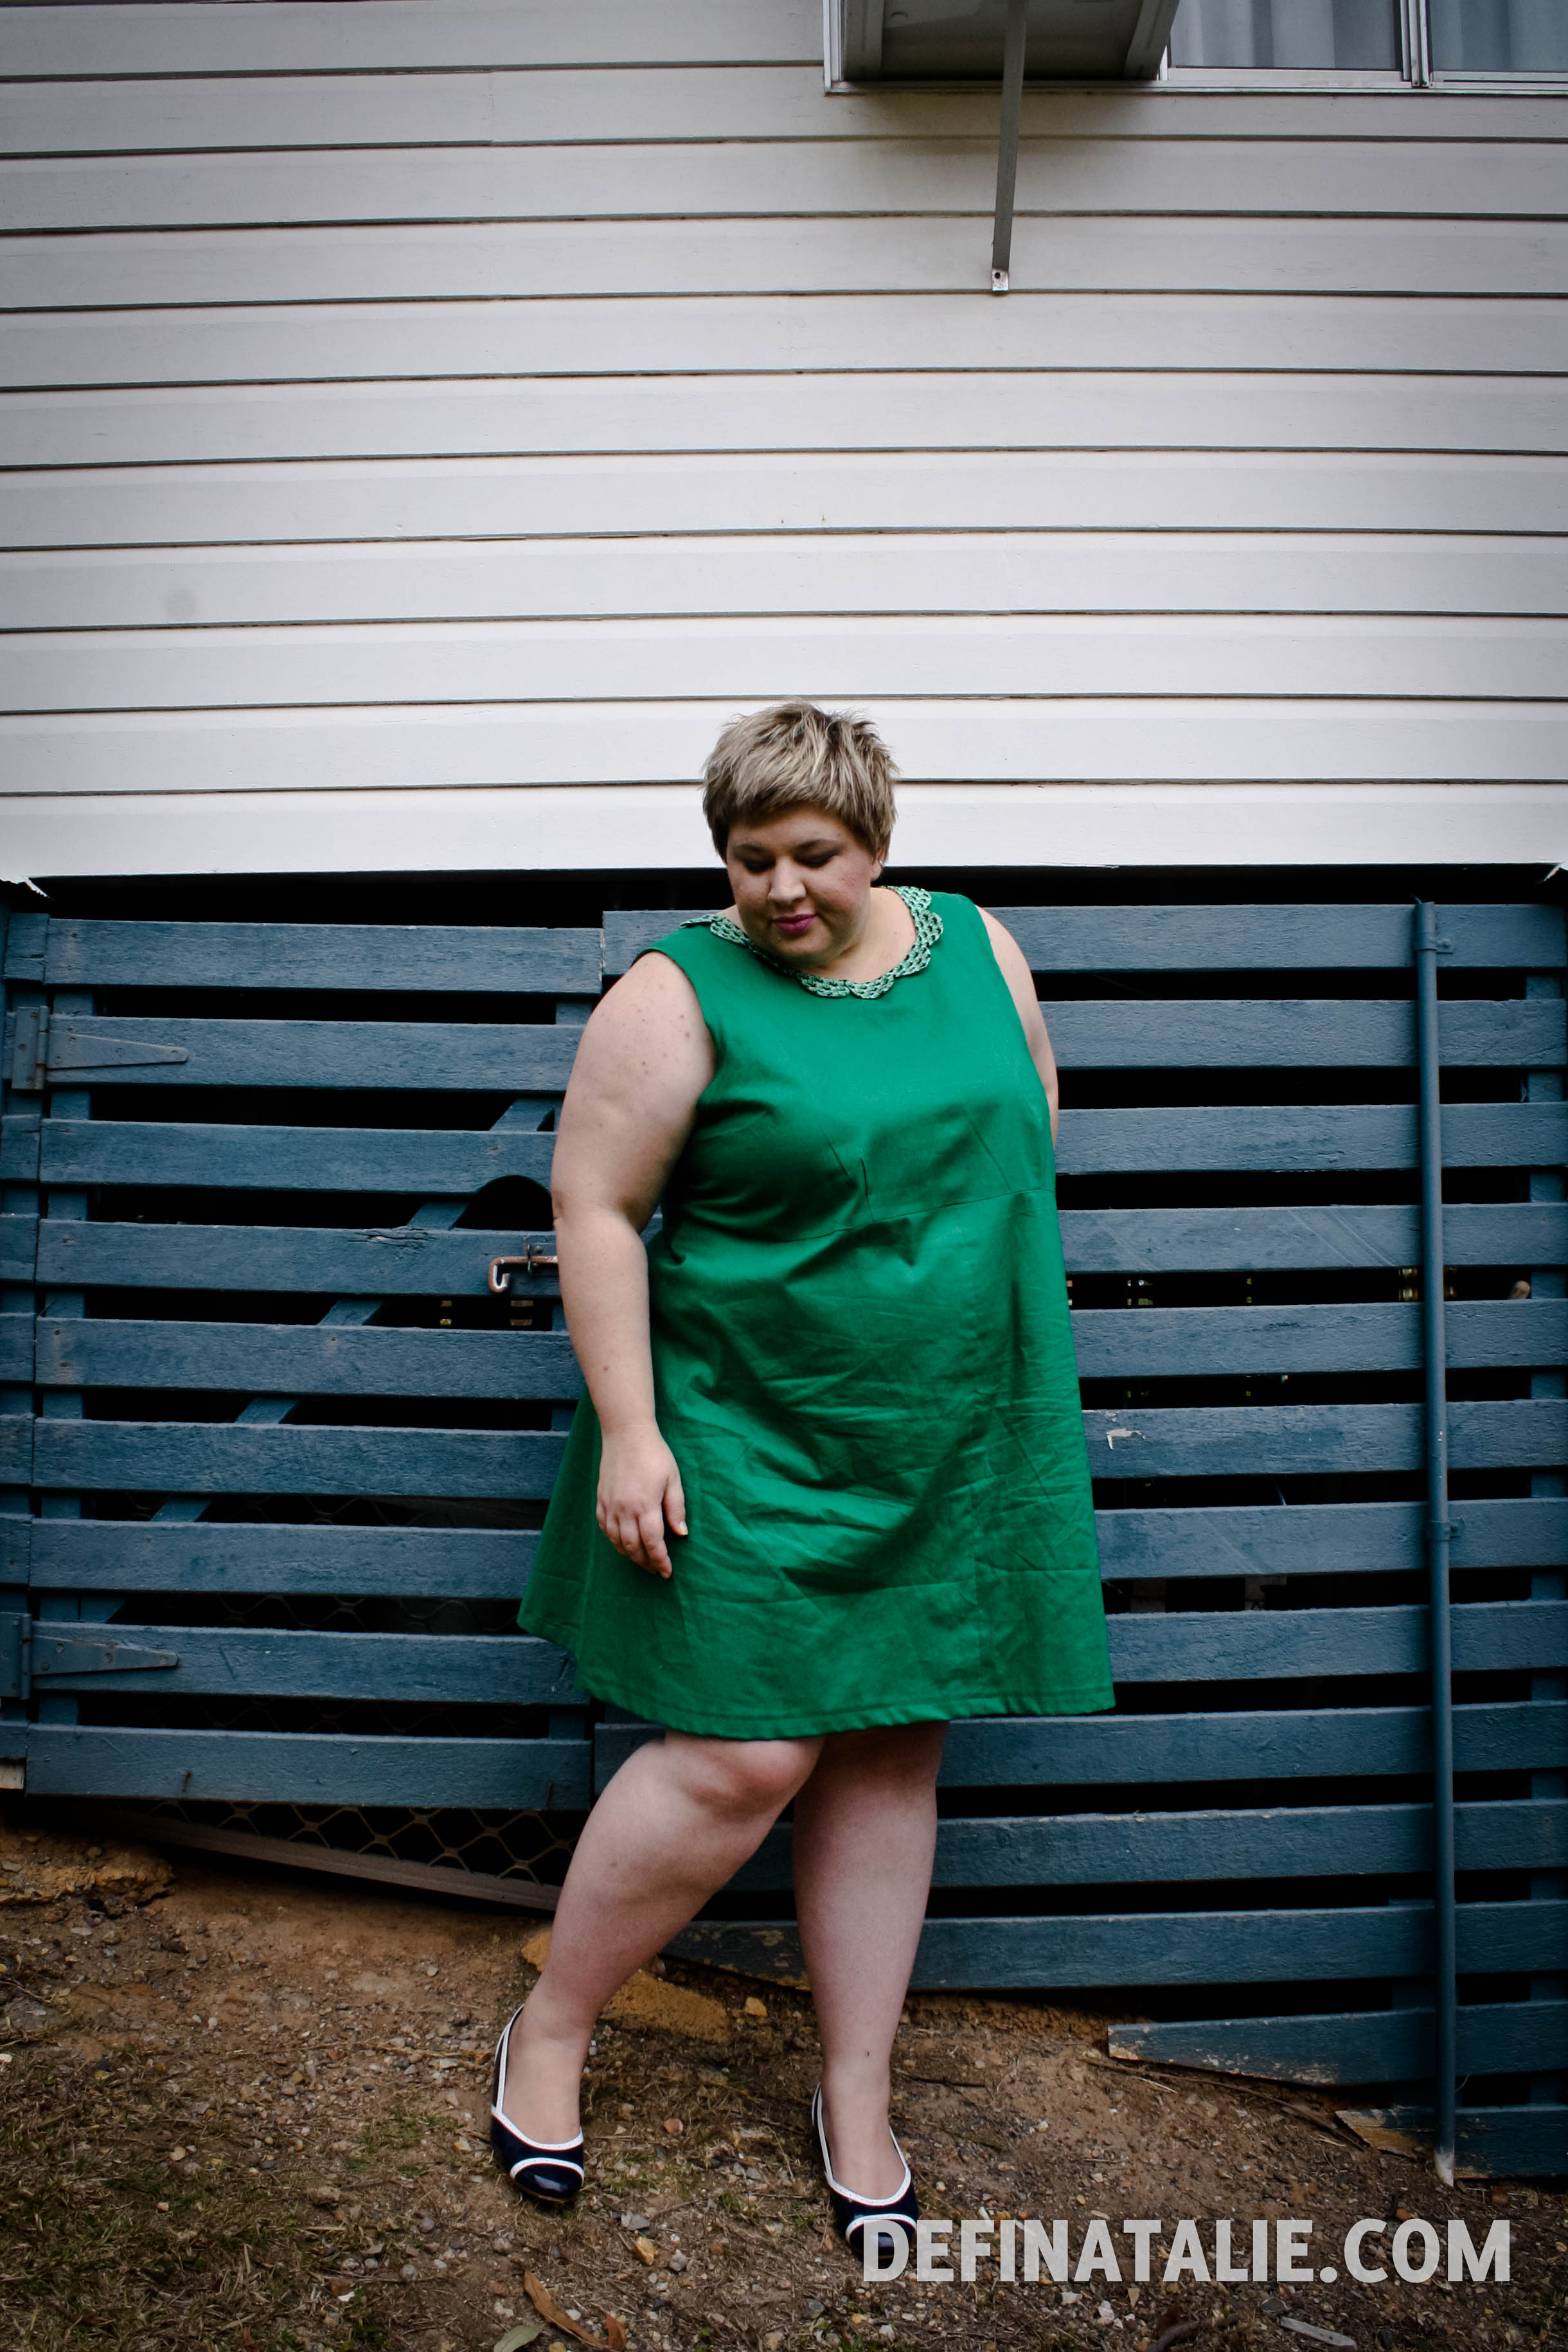
After more BurdaStyle browsing I came upon this cute-as-hell circle collar on the Candy Sundress and decided if I was going to go forward with a wearable muslin then I’d put my whole arse into it and make a fancy collar. The original dress has a lower back neckline so I lowered mine too; I’m glad I did because it really makes the whole neckline as well as show off my tattoo!
CAVEAT: Some of these photos are pretty shocking because I couldn’t wait for Nick to get home and take photos so I set up the tripod and self timer… with wonky results. Also, despite much ironing this fabric insists on creasing whenever I move!


I’m a bit worried about the back crinkling, maybe it was because I was turning around to check the camera every 10 seconds?

There are small flaws in my construction alas: the bodice lining is a bit of a schemozzle as I forgot to cut it at the same time as I cut the outer fabric, some of the collar circles overlap the wrong way or are unevenly spaced, and I could probably take the whole thing in a few inches at all seams but I probably won’t because I like how it swings! Despite the flaws, I’m proud I finally made this dress in my size. I realise now that making a multi-size pattern isn’t as easy as I thought it’d be, and ultimately might not even work on most people because we’re all shaped differently.
I think it’s wonderful! The colour looks so great on you and I really love the collar.
I wish I knew how to sew.
Oh my gosh oh my gosh. That dress + your hair, is like the greatest combination ever. I love green.
That collar is super cute. Looks totally good with the cut of the dress too.
The dress is awesome and the colour looks fantastic on you.
And BTW, you have the most incredible lips!
AMAZE. You are so clever. If you ever feel like making a print out of your amended pattern, I’d totally buy it! xx
Adorable dress. I love the collar. :)
http://siansfatshionrags.blogspot.com/
Wow! I’ve just found your blog through Burdastyle and it’s true awesomeness. Just like when you find a great book you can’t put down, I’m off to obsessively read all the archives.
:)Alana
Aw thanks Alana!
A print of the pattern so you can sew it? I only have it in my size unfortunately and don’t really trust my grading for other sizes, eep!
I absolutely love this dress on you. It reminds me of retro-sixties-colour-blocking with your cute lil’ pixie hairdo. :) Well done!
It looks so good! That colour is so pretty. You have inspired me to have a go at making it too :)
Your dress looks more 60s style shift dress than the original – maybe even cuter than the original.
What a gorgeous dress! I love it! I really need to get back into sewing myself, so this is great inspiration – thank you!
Hi Natalie, I think I may have the perfect thing for you! A few years ago now I went to a class on how to make your own patterns using the Lutterloh system http://www.lutterloh-system.com/ and as usual I got swept away with all the possibilites and bought the book and the curves. But I’ve never used them and the pack has been sitting in a cupboard now for years. I found it again the other day and left it out with the intention of taking it to the Salvos, but now I think it would find a better home with you. If you’re interested drop me an email and we can discuss further. donnagwilson at gmail dot com
xx Dee
Great dress – The first time I realised that I couldn’t just cut out my size in the sewing patterns I felt a bit ripped off after all hadn’t I paid money for them to do the sizing. Now I find fitting a pain in the arse but when I produce a nice shirt (something I find impossible to find in retail) that doesn’t pop a button its worth it.
Ahhh I just came across a free pdf of Lutterloh system fancy dress costumes, but the whole book is German!! This sounds amazing :D
Ahhh I just came across a free pdf of Lutterloh system fancy dress costumes, but the whole book is German!! This sounds amazing :D
Ahhh I just came across a free pdf of Lutterloh system fancy dress costumes, but the whole book is German!! This sounds amazing :D
Oh, please don’t worry! I was just being hella cheeky. :) xx
That is a very beautiful dress. I love that colour green, I wear it too but you don’t often see it in the shops.