Heyyy, wanna make a fun fringy skirt that flicks when you move your hips? I have been a bit sad recently because I don’t have money for things like new clothes, even if they are awesome clothes like City Chic‘s fringed skirt (which has now sold out on the website!)
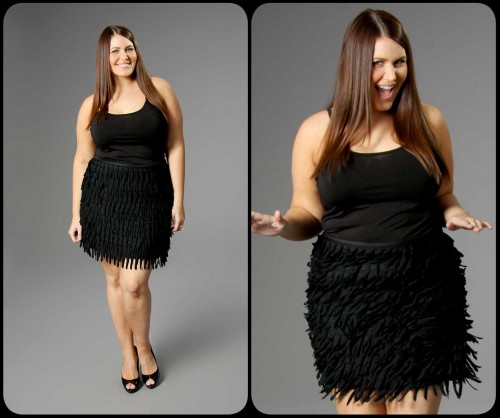
See how rad this skirt is? When I saw it on Hayley I knew I HAD to have it or something like it in my wardrobe. Unfortunately I couldn’t buy the City Chic skirt, but fortunately I did have some scrap fabric and a t-shirt sitting around going to waste. I figured I’d quit whinging and DIY myself a fringe skirt! If you want to make one too I’ve written out instructions under the cut.
Required:
Sharp scissors
Jersey fabric (I used five scraps of jersey from Reverse Garbage that were around 50x50cm each)
T-shirt that fits comfortably over your hips and thighs
Elastic – enough to fit around your waist/hips comfortably (I used some about 2cm wide)
Safety pin
Pins
Sewing machine
Jersey needle
Basic sewing skills
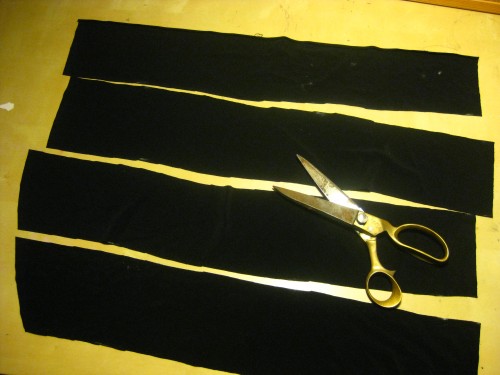
Cut your fabric into strips that are 10cm wide or thereabouts. If you want longer fringe, cut your strips wider! Mark your fabric with chalk or a water soluble pen to make sure all your fringing is relatively even.
Don’t worry if you are using scraps of fabric that aren’t long enough to wrap around your thighs. You can sew each bit of fringe together.
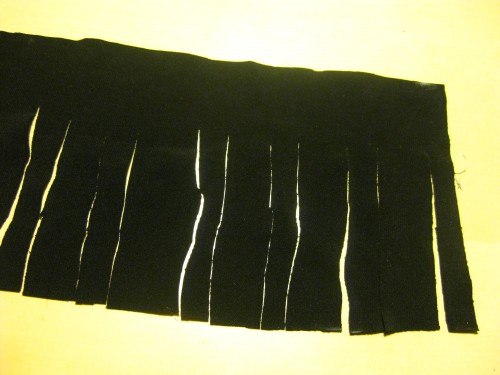
Cut slits into your fabric to create a fringe. Don’t worry too much about cutting straight, you won’t notice it from far away. My scissors need oiling and my hand is pretty weak, so my cuts look quite jagged but it all works out int the end!
You can see I’ve alternated skinny and wide chunks, and there’s a reason for that!
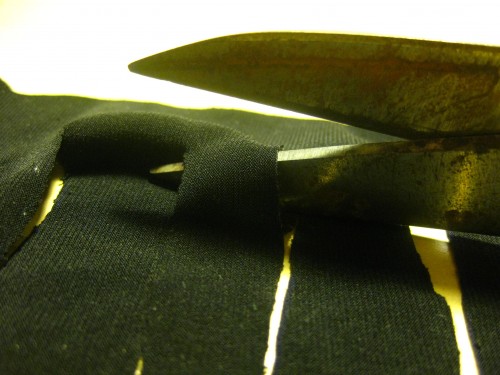
I chopped out all the skinny chunks!
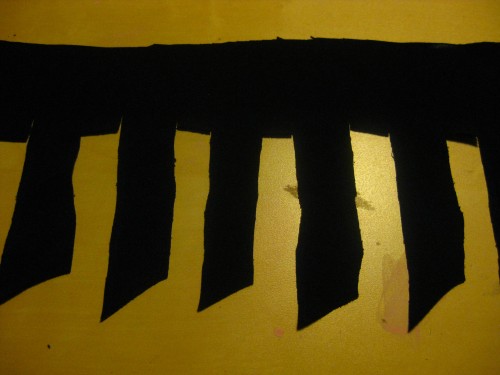
Leaving me with a gappy fringe. I also chopped the corner off each bit.
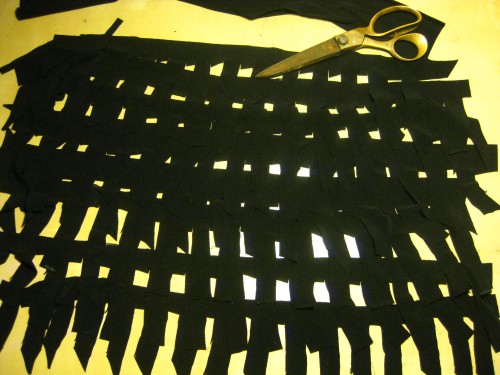
Pretty soon you end up with a pile of fringey bits! You can start to see how they look all layered on top of each other.
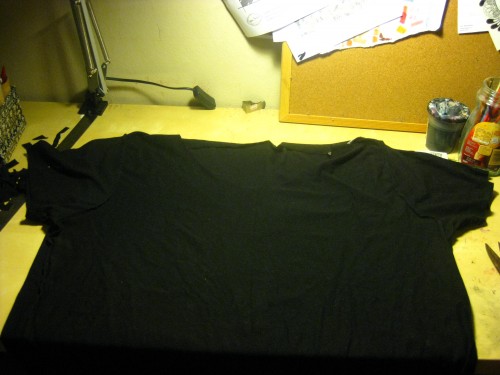
This is a shirt I have previously ruined by cutting the neck out of. It gets to live on as a skirt! It fits snugly around my hips and thighs, and hits mid thigh. If you want your skirt to be longer, you need to find a bigger shirt!
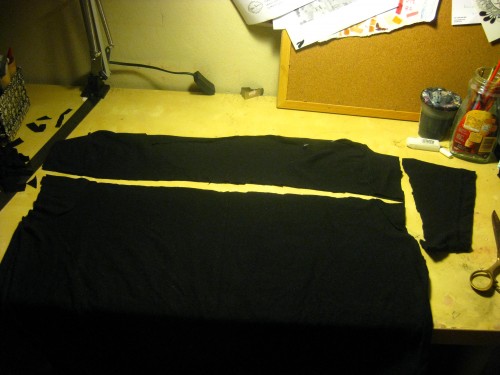
Chop off the arms and the shoulders. You should be left with a tube of fabric – INSTASKIRT. Because I wanted to get a little more length out of this shirt I chopped over the sleeves, and ran a seam up the side to close it up. It doesn’t matter if you can see the former armhole seam, it’s going to be covered by fringing.
If you are using a bigger shirt and it’s too loose on your hips, run it in up the side seams. Put it on inside out and do the old “pinch measurement” test. It’s totally unscientific. You can use a tape measure if you feel more comfortable :P
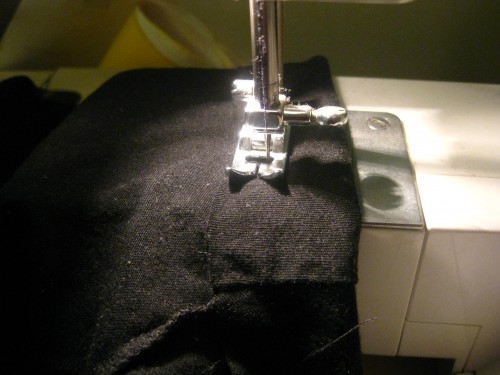
We need to sew a casing along that cut edge in order to put elastic in it when we’re finished. I folded the top edge along and sewed a seam with a knit (or zig zag stitch) leaving just enough space for my elastic to sit inside snugly.
Don’t put the elastic in yet! It’ll make everything more fiddly when you’re sewing on the fringe.
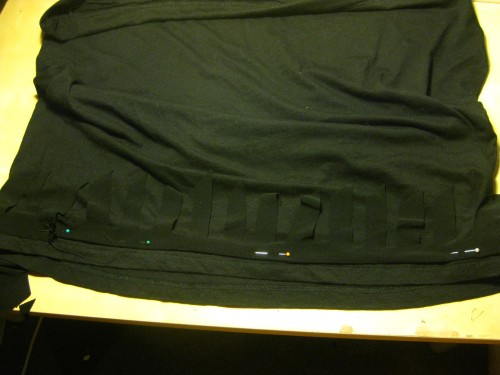
It’s time to sew the fringe on the skirt! First you’ve got to check you’ve got a width of fringing that will wrap around the skirt, front and back. Is yours not wide enough?
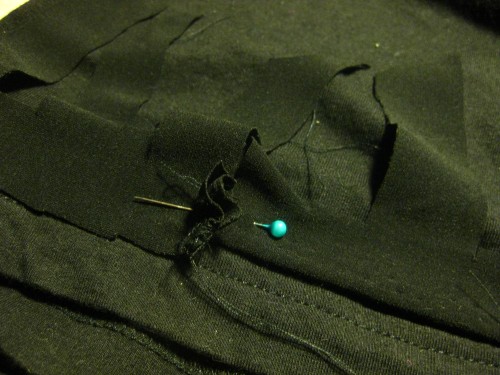
Then slap a couple of pieces end to end and sew them! This photo shows the pieces sewn together and then pinned to the skirt. I hope it makes sense ;)
Pin the fringe all around the skirt upside down with all the seams facing up. You can arrange it to drop below the hem, or flush with the hem, or above the hem… it’s up to you.
Using a knit (or zig zag) stitch sew the fringe around. When you get to the end and start to overlap the beginning of the fringe, cut the excess off and save it to connect to another bit of too-short fringing.
Rinse and repeat, taking care not to catch any of the lower layers of fringing as you add more layers of fringe! You don’t have to worry too much about spacing each layer evenly, it’s a pretty forgiving effect. If you prefer for all the angled ends to be facing in one direction, pay close attention when you sew each layer of fringing. I wasn’t paying attention so my fringe is all over the place. It’s ok! It still looks rad.
When you’ve finished attaching all your layers of fringe, go get a safety pin. Attach it to your elastic and thread it through the waist band casing. I’m sorry I didn’t photograph this but I hope it’s clear! Adjust the elastic so that the skirt sits comfortably, and then secure the elastic ends by sewing over them a few times. Close up the waist band casing.
PUT YOUR SKIRT ON!
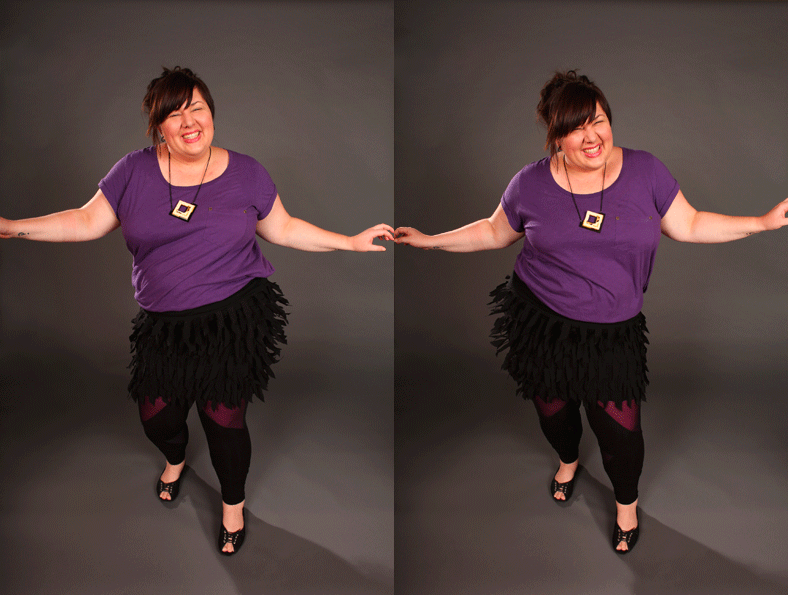
MOVE YOUR HIPS!
(This gif is cracking me up at the moment because it looks like I’m dancing to Röyksopp!)
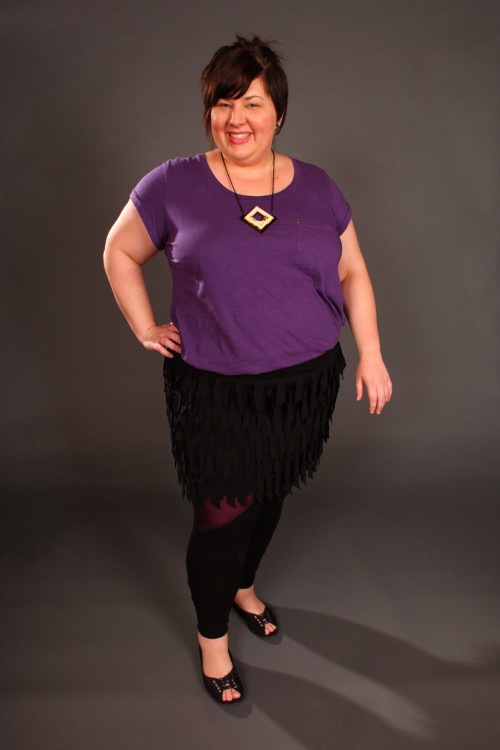
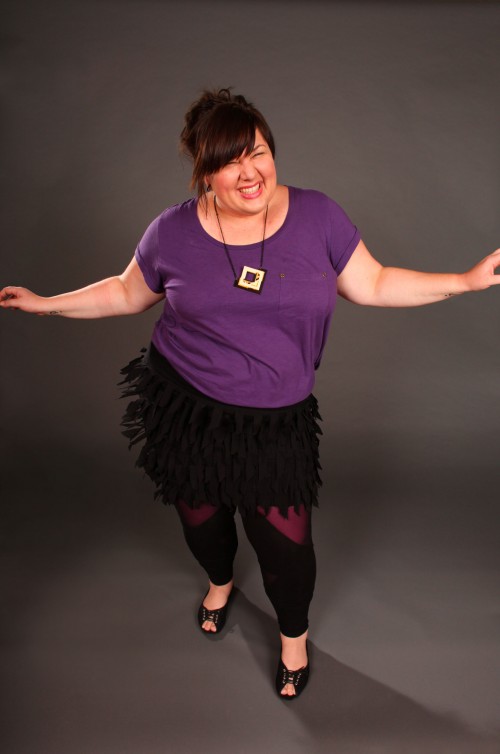
Thanks Kate for letting me use your sewing machine, and for taking silly photos of me.
I hope you make a flippy fringe skirt and show me photos! It’s such a fun skirt, and I’m really chuffed with how it turned out :D

OMG <3. It looks great on the both of you!
I actually thought of a DIY that was similar but never had the chance to try it. Now I'm inspired I wanted to make a fringe skirt similar to http://www.etsy.com/listing/46759938/custom-jer…
Instead of loose ends u fold the fabric and then cut. You're so AWESOME!
Now I must go try . . .
OH that is SUCH a great idea! I am totally going to do a loopy fringe skirt next. Thanks for sharing the idea.
:D
THAT GIF OF YOU IS SO FUCKING CUTE! I can't stop watching it.
so rad! i love this idea & your outfit you paired with the skirt.
ahh that GIF of you is the best thing ever :D and the skirt looks fabuuuulous!
That is sooooo COOL!
Go Natalie! You did an awesome job, and you look fantastic.
That is an amazing gif.
What a great outfit-I'm happy to see you happy- love the shoes as well.
THAT IS THE BEST GIF I HAVE EVER SEEN.
Lady you are so the best person ever.
Haha, that gif of you is hilarious!!! That's a sure fire way to brighten someone's day!
I think your skirt looks better than the original one in the photo!
Thanks! They're from Evans, and you can lace them however you like!
That gif is just amazing! Your skirt is amazing! You are amazing! And also gorgeous. Amazing and gorgeous!
I am totally going to make a fringe skirt now. :D
ohmigod – I love it! You are so cool – very inspiring ;))
I love that .gif! thank you for the smile it put on my face! I just can't stop watching it ;-)
and thank you too for the nice tutorial
Hi!! I know your site today and its lovely!!!
You have a fan from today ;D ¡¡me!!
I´ll follow your clue
Kisses from Spain.
;D
that is so awesome. I want to do that to bloomers!
You are made of awesome!
You are so very talented! Also, that GIF is amazing!!!
Am so in love with your GIF! Thanks so much for sharing this great tutorial!
Wow, I really wish I could sew. I'm imagining the same skirt in two colours like maybe red and magenta!
It looks fantastic and you make animated gifs cool!
What a great idea ! It looks amazing ! :)
Oooooo so fancy.
LOL you are soo cute, I love the skirt!!
Omg love it.
Thanx for the directions. This is a charmer. Will be really cute for the teens and they could even make it themselves. You are adorable and really make it cute.Thanx for sharing.
you are the absolute best ever.
I want to try to make this! I might have to steal one of my husband's t-shirts to cut up though–I don't have very many of my own, especially ones that would fit over my butt. I'm also not sure what a jersey needle is, but I've sewn on jersey with my machine before with no problem so maybe it would be okay.
I love your blog (found it last week while reading Spilt Milk) and you look adorable! For years I've kept fun, flashy things like this out of my wardrobe purely for fear of someone thinking I was not in the select category of women (teenage fashion models? I don't know) who “should” wear these types of things. I am ready to get crafty and spice things up :-)
Love it!
HAHAHA, I LOVE your gif. You look like you're having a blast.
It's very good. You are beautiful.
Disculpa mi inglés, estoy aprendiendo. Te felicito por tu diseño.
Un abrazo.
TO STINKING CUTE!!!!!! YOU LOOK FAB HUN.
I love it! Finally someone who gets that some of us sassy women want “more”. Keep up the good work. I’m trying to come up with something floaty, layered, and ever so sexy. I’ll keep you posted. If you have any ideas I would love to hear them! Lots of luck designing! Sharon, Alabama, USA
This is soo fantastic! I love it! The gif is great!! Actually I had to make this skirt as well, when I saw your post! And it turned out pretty nice. THANK YOU! :) You ROCK!!
Cheers, Kristin
oh and check out my version: http://creaytive.wordpress.com/2011/04/13/fringy-diy-skirt/
you are just too damned cute! i love your enthusiasm, and charm! please keep photographing yourself in your designs, it is great to see someone who is built like me wearing the finished project. i am not so intimidated to try yours or any designs, for fear that i might look silly in it. oops you look silly, but you are being silly. take care and please continue with your charm and love of teaching and sharing. =eva marie=
This is a super idea. Glad you thought of it. I will definitely try to make one. And who doesn’t have a bunch of tees around? Love recycling. Thanks for sharing.
I don’t know you, but can I just say, I love your amazing smile and how you project joy? You have that look on your face that you love yourself and it made me happy to see this photo on Pinterest. And cool craft too! Lol!
You are too cute for words and so is your skirt! Keep shaking what your mama gave you!
You are TOO CUTE in your hip-slinging skirt!
Tu inglés is muy bueno.
wha an AMAZING skirt and great chick you are and i know this will sound nuts comming from sum1 u dont but ur HOT HOT HOT keep up with ur creations they are FAN BLOODY TASTIC
This is adorable and I love your blog.